Pokazywanie postów oznaczonych etykietą Tutorial. Pokaż wszystkie posty

piątek, 23 października 2020

Orange armour Tutorial | Pomarańczowa zbroja - Poradnik

Może komuś przyda się mój prosty przepis na pomarańczową zbroję. Nie jest on może idealny dla dużych powierzchni (przez użycie farby kontrastowej), ale niewielka ilość battle-damage, na sam koniec, według mnie załatwi sprawę. Farby użyte w poradniku pochodzą od Games Workshop, za wyjątkiem Orange Fire od Valejo Game Color.

Za przykład posłuży mi aktualnie malowany Gunhauler (jak skończę na pewno pochwalę się na blogu).


Maybe someone will make use of my easy recipe for orange armour. It may not be perfect for large areas (becouse of use of contrast paint), but a little battle-damage will solve the problem in my opinion. All paints used in tutorial are from Games Workshop, exept Orange Fire from Valejo Game Color.

As an example I will use my actually painted Gunhauler (I'll post finished pictures when it will be ready).


Na początek podkład z Wraithbone | First I basecoat the miniature with Wraithbone

sobota, 14 kwietnia 2018

Diseased skin Tutorial | Schorowana skóra - Poradnik

Zostałem poproszony o przepis na skórę pomalowanego przeze mnie Lord of Blights. Jako że mam kilka zdjęć z jego malowania, przed wami krótki poradnik:

I was asked about the recipe for Lord of Blights skin. As I made some photos during his painting, here is a short tutorial:

1. Na początek czarny podkład | First Black undercoat
 
2. Kolor bazowy: "Pink Horror" | Base colour: "Pink Horror"
3. Mocny drybrush: stary "Elf Flesh"* | Heavy drybrush: old "Elf Flesh"*
4. Drybrush: "Elf Flesh" + "Matt White"** (Armypainter) (2:1) | Drybrush: "Elf Flesh" + "Matt White"** (Armypainter) (2:1)
 5. Wash całej skóry: "Druchii Violet" + "Lahmian Medium" (1:2) | Whole skin wash: "Druchii Violet" + "Lahmian Medium" (1:2)

 6. Wash w zagłębieniach: "Druchii Violet" | Wash in recesses: "Druchii Violet"
 7. Wash ropni i larw: "Blue Ink"*** (P3 Formula) | Abscesses and maggots wash: "Blue Ink"*** (P3 Formula)
 8. Wash w najgłębszych zakamarkach (pachy, okolice zbroi/paska): "Nuln Oil" | Wash in deepest recesses (arm pits, areas near the armour/belt): "Nuln Oil"
 9. Lekki drybrush wyniosłości skóry: "Elf FLesh" + "Matt White" (Armypainter) (2:1) | Highest ptrotrusions lite drybrush: "Elf Flesh" + "Matt White" (Armypainter) (2:1)
 10: Bazowy kolor ropni ropni: "Thunderhawk Blue" + "Matt White" (Armypainter) (2:1) | Abscesses base colour: "Thunderhawk Blue" + Matt White" (Armypainter) (2:1)
 11. Rozjaśnienie ropni: "Thunderhawk Blue" + "Matt White" (Armypainter) + "Yellow Green"**** (Vallejo) (2:1:1) | Abscesses highlight: "Thunderhawk Blue" + "Matt White" (Armypainter) + "Yellow Green"**** (Vallejo) (2:1:1)
 12. Końcowe rozjaśnienie ropni: "Yellow Green" (Vallejo) | Abscesses final highlight: "Yellow Green" (Vallejo)
 13. Przekrwienie wokół otwartych ran: "Bloodletter" | Inflammation around open wounds: "Bloodletter"
 14. Rozjaśnienie krawędzi ran: "Ushabti Bone" | Wounds edges highlight: "Ushabti Bone"
Na koniec przepis na larwy: Baza z "Ushabti Bone" zwashowana "Agrax Earthshade" i rozjaśniona Mieszanką "Ushabti Bone" + "Matt White (Armypainter) | For the end recipe for maggots: Base from "Ushabti Bone" washed with "Agrax Earthshade", and highlighted with mix of "Ushabti Bone" + "Matt White (Armypainter)


Nowe Cytadelowe odpowiedniki kolorów:

* Elf Flesh = Bestigor Flesh
** Matt White (Armypainter) = White Scar
*** Blue Ink (P3 Formula) = Drakenhof Nightshade
**** Yellow Green (Vallejo) najbliższy podobny kolor to Moot Green


New Citadel Paints equivalents:

* Elf Flesh = Bestigor Flesh
** Matt White (Armypainter) = White Scar
*** Blue Ink (P3 Formula) = Drakenhof Nightshade
**** Yellow Green (Vallejo) closest similar colour is Moot Green


niedziela, 16 lipca 2017

Sigmarite Mausoleum - Painted


Skończone! Dzięki urlopowi udało mi się całkiem szybko pomalować cały zestaw.

Jak obiecałem we wcześniejsym poście, przed wami krótki poradnik jak szybko pomalować ten lub inny teren w podobny schemat. Chciałem żeby całość pasowała do nowej maty GW: Soulblight Necropolis Battle Mat. Po spodkładowaniu całości czarnym sprayem (jeszcze stary Chaos Black od GW) malowałem go w poniżej przedstawionej kolejności, dany element malowałem we wszystkich częściach zestawu, po czym brałem się za kolejny. Większość farb to farby GW, jeśli nie nazwa firmy podana jest w nawiasie. Proporcje mieszanek podane w nawiasach.

Finished! Thanks to my holidays i maneged to finish it pretty quick.

As I said in earlier post here is a short tutorial, of how to paint Sigmarite Mausoleum or any other terrain piece in similar scheme. I wanted it to fit with new Soulblight Necropolis Battle Mat. After black undercoat (in my case it was an old Chaos Black spray from GW) I was paintig it in phases shown below, every phase was repeated on every terrain piece after I start the next. Most of paints are the GW ones, if not name of company is in brackets, proportions of paint mix in brackets too.


- Zacząłem od fioletowego bruku:
* Mocny dry-brush mieszanką Xereus Purple + odrobina Abaddon Black
* Dry-brush - Xereus Purple
* Dry-brush - Xereus Purple + odrobina Mat White (Army Painter)
* Lekki Dry-brush (po krawędziach) - Xereus Purple + Mat white (Army Painter) (1:1)
* Bardzo lekki Dry-brush (po krawędziach) - Xereus Purple + Mat White (Army Painter) (1:2)
* W celu urozmaicenia niektóre płyty pokryłem glazem Bloodletter

- Następny element to szara ziemia:
* Dry-brush - Dawnstone
* Lżejszy Dry-brush - Dawnstone + Mat White (Army Painter) (1:1)
* Leciutki Dry-brush - Dawnstone + większa ilość Mat White (Army Painter) (1:2)
* W celu urozmaicenia faktury gdzieniegdzie wash Agrax Earthshade

- Niebieskie groby:
* Mocny Dry-brush - Thunderhawk Blue
* Dry-brush - Thunderhawk Blue + odrobina Mat White (Army Painter)
* Lekki Dry-brush - Thunderhawk Blue + Mat White (Army Painter) (1:1)
* Bardzo lekki Dry-brush (po krawędziach) - Thunderhawk Blue + Mat White (Army Painter) (1:2)

- Zielone groby:
* Mocny Dry-brush - Kabalite Green
* Lekki Dry-brush - Kabalite Green + odrobina Yellow Green (Valejo)
* Bardzo lekki Dry-Brush - Kabalite Green + Yellow Green (Valejo) + Mat White (Army Painter) (2:1:1)

- Zielonkawe kamienne mury:
* Dry-brush - Kabalite Green + odrobina Abaddon Black
* Dry-brush - Kabalite Green
* Dry-brush - Kabalite Green + odrobina Mat White (Army Painter)
* Lekki Dry-brush - Kabalite Green + Mat White (Army Painter) (1:1)
* Bardzo lekki Dry-brush (po krawędziach) - Kabalite Green + Mat White (Army Painter) (1:2)

- Miedziane Dachy:
* Podkład - Retributor Armour
* Wash - Coelia Greenshade
* Bardzo lekki Dry-brush (po krawędziach) - Runefang Steel
* Warstwa Nihilak Oxide w zagłębieniach, gdzieniegdzie rozciągnięta w formie zacieków
* Gdzieniegdzie lekkie zgąbkowanie Abaddon Black

- Metalowe elementy:
* Podkład - Ironbreaker
* Wash - Agrax Earthshade
* Dry-brush - Runefang Steel

- Złote elementy
* Podkład - retributor Armour
* Wash - Agrax Earthshade
* Dry-brush - Runefang Steel

- Czaszki i kości:
* Podkład - Ushabti Bone
* Wash - Agrax Earthshade
* Drybrush - Ushabti Bone + Mat White (Army Painter) (1:1)
* Lekki dry-brush - Ushabti Bone + Mat White (Army Painter) (1:2)

- Różane liście:
* Podkład - Caliban Green + Mournfang Brown + Yellow Green (Valejo) (2:1:1)
* Wash - Coelia Greenshade
* Dry-brush - Caliban Green + Mournfang Brown + Yellow Green (Valejo) (1:1:1)
* Lekki Dry-brush - Caliban Green + Mournfang Brown + Yellow Green (Valejo) + Mat White (Army Painter) (1:1:1:1)

- Niebieskie róże:
* Podkład - Temple Guard Blue
* Wash - Blue Ink (Formula P3)
* Dry-brush - Temple Guard Blue + Mat White (Army Painter) (1:1)

- Brudzenie i pojedyńcze elementy:
* Gdzieniegdzie na bruku, grobach (w załamaniach) lekki Dry-brush - Mournfang Brown
* W kilku miejscach rozbryzgi krwi z Blood for the Blood God
* Świeczki: podkład - Mephiston Red, wash - Reikland Fleshshade, rozjaśnienie - Mephison red + Yriel Yellow
* Kruk: pióra podkład - Abaddon Black, rozjaśnienie - Abaddon Black + Dawnstone, dziób i łapy podkład - Yriel Yellow, wash - Reikland Fleshshade, rozjaśnienie - Yriel Yellow

...i to tyle, mam nadzieję że komuś się przyda. ;)


- First the purple pavements:
* Heavy Dry-brush with mix of Xereus Purple + spatter of Abaddon Black
* Dry-brush - Xereus Purple
* Dry-brush - Xereus Purple + spatter of Mat White (Army Painter)
* Lite Dry-brush - Xereus Purple + Mat white (Army Painter) (1:1)
* Very lite Dry-brush (mostly edges) - Xereus Purple + Mat White (Army Painter) (1:2)
* To bring a little diversion I glazed some stones with Bloodletter

- Next is a grey dirt:
* Dry-brush - Dawnstone
* Lite Dry-brush - Dawnstone + Mat White (Army Painter) (1:1)
* Very lite Dry-brush - Dawnstone + Mat White (Army Painter) (1:2)
* To bring a little diversion wash of Agrax Earthshade in some places

- Blue graves:
* Heavy Dry-brush - Thunderhawk Blue
* Dry-brush - Thunderhawk Blue + spatter of Mat White (Army Painter)
* Lite Dry-brush - Thunderhawk Blue + Mat White (Army Painter) (1:1)
* Very lite Dry-brush (mostly edges) - Thunderhawk Blue + Mat White (Army Painter) (1:2)

- Green graves:
* Heavy Dry-brush - Kabalite Green
* Lite Dry-brush - Kabalite Green + spatter of Yellow Green (Valejo)
* Very lite Dry-Brush - Kabalite Green + Yellow Green (Valejo) + Mat White (Army Painter) (2:1:1)

- Greenish stone walls:
* Dry-brush - Kabalite Green + spatter of Abaddon Black
* Dry-brush - Kabalite Green
* Dry-brush - Kabalite Green + spatter of Mat White (Army Painter)
* Lite Dry-brush - Kabalite Green + Mat White (Army Painter) (1:1)
* Very lite Dry-brush (mostly edges) - Kabalite Green + Mat White (Army Painter) (1:2)

- Copper roofs:
* Base - Retributor Armour
* Wash - Coelia Greenshade
* Very lite Dry-brush (mostly edges) - Runefang Steel
* Layer of Nihilak Oxide in concaves, in some places forming damp paches
* In some places sponging with Abaddon Black

- Metal elements :
* Base - Ironbreaker
* Wash - Agrax Earthshade
* Dry-brush - Runefang Steel

- Gold elements:
* Base - Retributor Armour
* Wash - Agrax Earthshade
* Dry-brush - Runefang Steel

- Skulls and bones:
* Base - Ushabti Bone
* Wash - Agrax Earthshade
* Drybrush - Ushabti Bone + Mat White (Army Painter) (1:1)
* Lite Dry-brush - Ushabti Bone + Mat White (Army Painter) (1:2)

- Leaves:
* Base - Caliban Green + Mournfang Brown + Yellow Green (Valejo) (2:1:1)
* Wash - Coelia Greenshade
* Dry-brush - Caliban Green + Mournfang Brown + Yellow Green (Valejo) (1:1:1)
* Lite Dry-brush - Caliban Green + Mournfang Brown + Yellow Green (Valejo) + Mat White (Army Painter) (1:1:1:1)

- Blue roses:
* Base - Temple Guard Blue
* Wash - Blue Ink (Formula P3)
* Dry-brush - Temple Guard Blue + Mat White (Army Painter) (1:1)

- Weathering and some details:
* In some places on pavements and graves (in concaves) lite Dry-brush - Mournfang Brown
* Some Blood for the Blood God in form of bloody spatters
* Candles: Base - Mephiston Red, Wash - Reikland Fleshshade, Highlight - Mephison red + Yriel Yellow
* Crow: feathers Base - Abaddon Black, Highlight - Abaddon Black + Dawnstone, beak and claws Base - Yriel Yellow, Wash - Reikland Fleshshade, Highlight - Yriel Yellow

...and thats all, hope it will be hepfull for someone. ;)


niedziela, 19 lutego 2017

Celestant Prime (my way of assembling/painting) #1


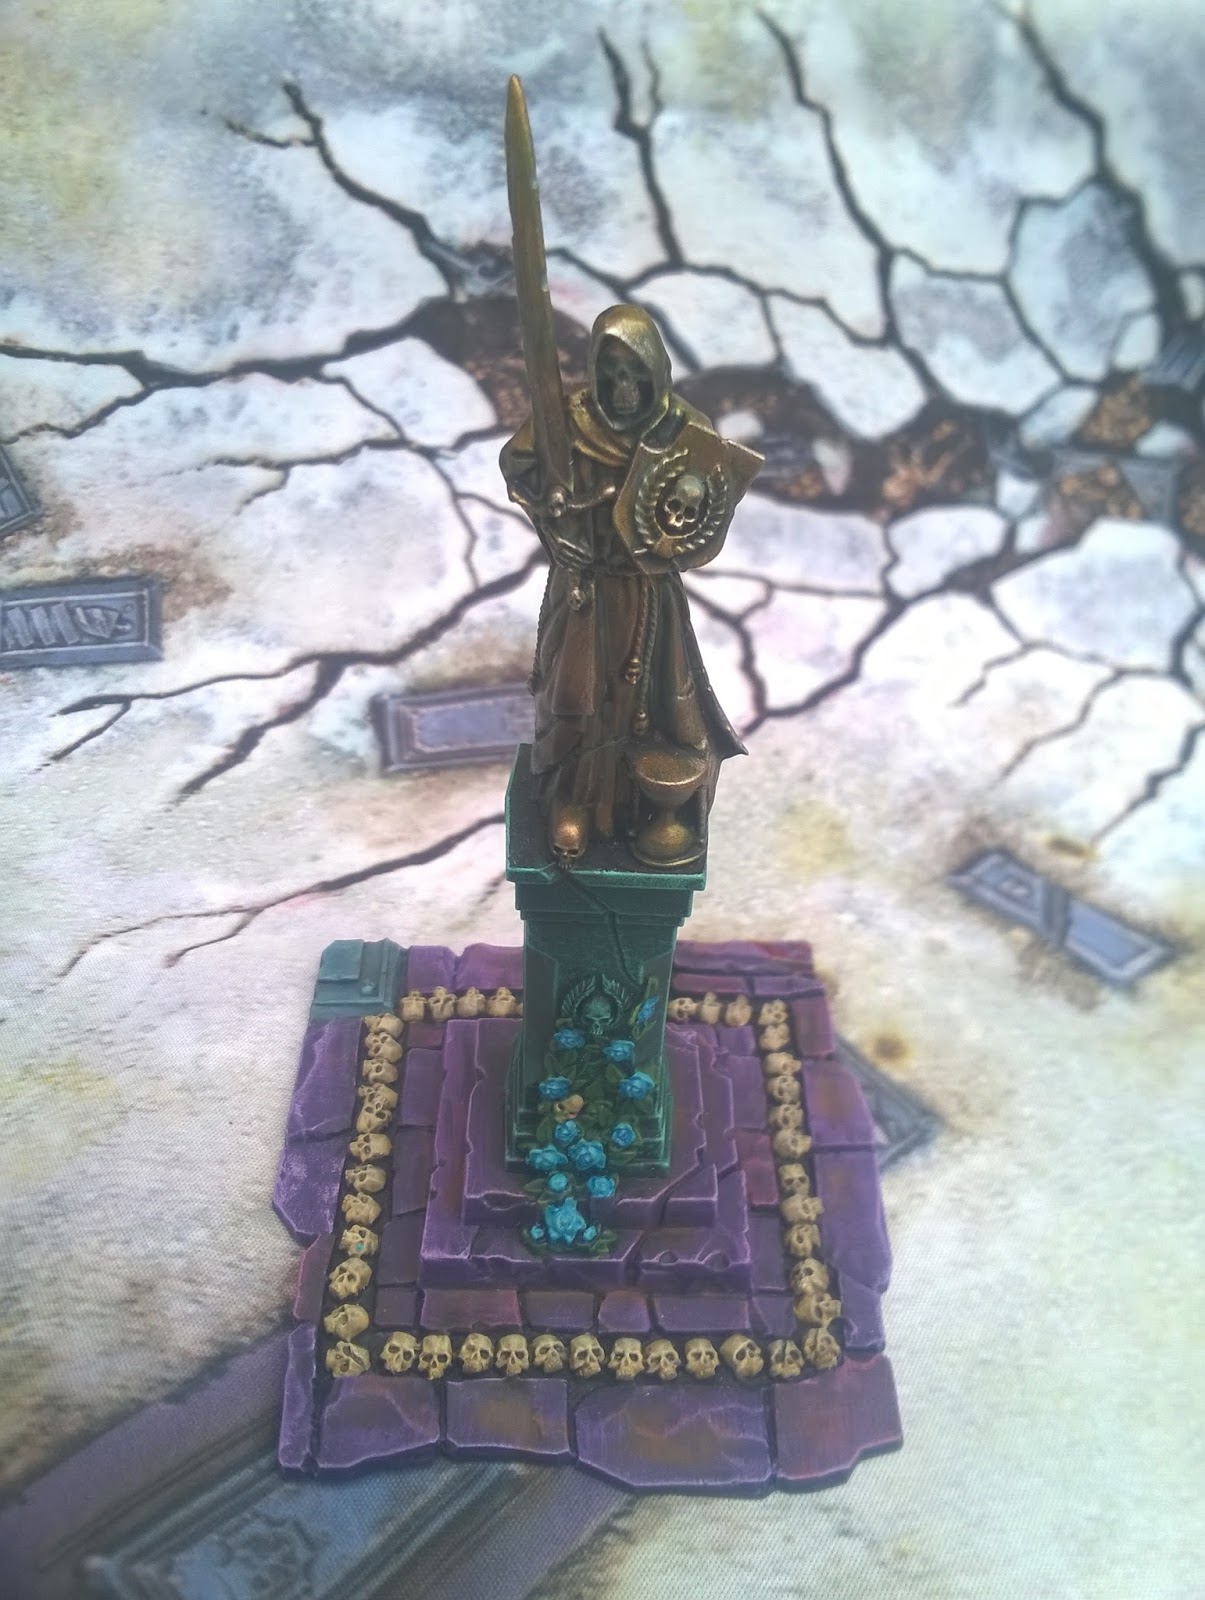
Już pomalowana podstawka | Already painted base

Przed rozpoczęciem prac nad moim Celestant'em Prime'em (CP) patrzyłem na niego z lekkim niepokojem. Przerażał mnie w kwestii złożenia i malowania, a jako że jestem całkiem zadowolony z efektu moich prac, podzielę się z wami moim sposobem złożenia go.
Prawdopodobnie nie jest to najlepsza metoda, ale dla kogoś takiego jak ja, kto najchętniej malowałby całkowicie złożone modele, jest to zdecydowanie dobra droga.

As I saw Celestant Prime (CP) as really imposing model to assembly and to paint, I want to share with You my way of assembling it. 
Probably it isn't the best way, but for painter like me (who likes to paint miniature as much completely assembled as it is possible) it makes everything a lot easier.

Zakładam że każdy kto ma CP ma i instrukcję.

 I asume that everybody who got CP has the instruction. 

Zaczynając od punktu 1a do 1l składamy podstawkę (od razu dołożyłem kilka elementów z Shattered Dominion Large base kit i zapiaskowałem):

Starting from point 1a to 1l we assembly the base (at this point I added some elements from Shattered Dominion Large base kit, and basing materials):


Następnie przechodzimy do ciała CP, ignorujemy punkt 2d, co zostawia nam osobno dwie połówki. Dalej wszystko jak w instrukcji, z tym że ręce, naramienniki i głowę doczepiamy do tylnej części ciała:

Then when it goes to CP's body we ignore the 2d, leaving two halves of his body separately.
Next we do everything as in instruction, but we glue his hands, pauldrons and head to the back side of his body:


Po złożeniu skrzydeł  (jak w instrukcji) zostajemy z 5 elementami (razem z malutką kometką służącą później do połączenia szat z wirem):

When we assembly the wings (as in instruction) it leaves us with 5 subassemblies (including one small comet to join the cloak to the whirl):


Jak skrzydła moich Prosecutor'ów tak i skrzydła CP zmagnetyzowałem, co jest całkiem proste, zakładając że mamy odpowiednie wiertło:

As with my Prosecutors I magnetized the wings, pretty easy thing to do assuming You have a fitting drill:


Tak elementy prezentują się po sprayowaniu:

That how it looks after basecoating:


A tak po złożeniu (żadnych Blue-tack'ów ani kleju) wszystko ładnie się trzyma:

And after assembling (no Blue-tacks or glue) everything fit and hold together:

 Jeśli chodzi o malowanie to oczywiście bedzie on w kolorach moich Celestial Vindicators'ów. :D

Najpierw pomalowałem podstawkę.

Zaczynamy od bazy pod postacią Xereus Purple, niektóre komety malujemy Caledor Sky. Następnie wash'ujemy całość Druchii Violet. Pojedyńcze komety malujemy Kabalite Green i wash'ujemy je niebieskim inkiem P3 Formula Blue ink w moim wypadku.
Teraz gdy mamy wszystkie bazowe kolory z'wash'owane zabieramy się za rozjaśnienia.

Rozjaśnienia wszystkich komet podlegają tej samej zasadzie, bierzemy odpowiedni mix farb i nakładamy go drybrush'em na kometę od głowy do ogona (mniejsza ilość farby na ogonie), następnie ten sam mix z niewielką ilością białego, lekkim drybrush'em, też od głowy do ogona, na koniec prawie sama biała farba tylko na przodzie głowy.
Poniżej mieszanki frab których używałem:
- Ciepłe fioletowe komety: Xereus Purple + Pink Horror.
- Zimne fioletowe komety: Xereus Purple + Vallejo Andrea Blue
- Niebieskie komety: Caledor Sky + Vallejo Andrea Blue
- Zielone komety: Kabalite  Green + Vallejo Andrea Blue

Złoty maowany za pomocą Gehenna Gold, z'wash'owany Aggrax Earthshade,  rozjaśniony Runefang Steel.
Srebrny Ironbreaker, z'wash'owany Nuln Oil, rozjaśniony Runefang Steel.
Globy na astrolabium to bazy z Mephiston Red, Caledror Sky i starego Snot Green, z'wash'owane Nuln Oil, a potem odpowiednio rozjaśnione.

...no i to w sumie wszystko. :)


When it comes to painting he will be of course in colours of my Celestial Vindicators. :D

First I painted the comet whirlwind base.

Start with basecoat of Xereus Purple, then paint some comets with Caledor Sky. After that, wash all with Druchii Violet. Next paint some comets with Kabalite Green, and then washed only them with P3 Formula Blue Ink
Now when we have all based colours washed, we start highlights.

The highlights of all comets have the same rules, we use the specific mix of paint, applying it most on the head of a comet, and drybrushing the tail, then the same mix with a little drop of white paint (lighter drybrush mostly on the head of a comet, slightly on tail), at the end we use mostly white paint with a little drop of our mix in it (only on top of the comet head).
Here ar the mix of paints I've used to paint the comets:
- Warm purple comets: Xereus Purple + Pink Horror.
- Cold purple comets: Xereus Purple + Vallejo Andrea Blue
- Blue comets: Caledor Sky + Vallejo Andrea Blue
- Green comets: Kabalite  Green + Vallejo Andrea Blue

Gold is painted with Gehenna Gold highlighted with Runefang Steel.
Silver with Ironbreaker highlighted with Runefang Steel.
Astrolabe globes are painted with base colours of Mephistonn red, Caledor Sky and old Snot Green, washed with Nuln Oil, and then highlighted.

...and thats pretty all. :)